
As I mentioned previously, I discovered a concrete pad in the garden area behind the back yard fence and beneath a thick layer of decayed leaves and pine straw. My daughter helped me uncover some of it with a hoe and shovel, but the going was slow and we only found the front and back edges. I later dug out one side that was under actual dirt, but the edge of the other side, where the pad was headed for the large pine tree that shades it, was still a mystery beneath the pine straw mat we had discovered was more easily rolled up like a carpet than dug out. But we didn't finish rolling it to the edge, so it was left as a lump with who knew how much more concrete underneath. I was cutting the grass back there one day and chose to mow over that hump because weeds were starting to overtake it.
Well, you know from my past post that I don't believe riding mowers are only meant to cut grass and that they are capable of all sorts of things with the right technique. In fact, my little Craftsman mower is labeled "LT 1000", and the "LT" stands for "Lawn Tractor". Note the word "Tractor". That's how they labeled it, and I'm going to hold it to that definition; so far, it hasn't let me down.
So I run over this decayed pine straw hump with the mower deck at its highest setting first, and dirt, dust and bits of old pine straw are flying everywhere! Ok, so I know I'll need to sharpen the blades after that, but that's no biggie. Then I realized this was getting rid of the hump, and I further realized that if I dropped the mower deck down to its lowest setting, it would push that loose layer of decayed pine straw like a grader blade!
Now, I'm not recommending that you should do any of these things I do with my mo-...I mean my "lawn tractor", with your own "lawn tractor", so don't complain to me when you try any of my ill-advised antics and you break your equipment. I'm just telling what I did and that it worked. As a matter of fact, I've done more damage to my mower by just cutting grass, like it was designed to do. Granted, it wasn't meant to mow over large rocks that your offspring leaves in the tall grass, but I'm capable of doing most repairs and basic parts-changing on the machine, so I'm willing to take the risks. (This is a legal disclaimer, in case it is needed.)
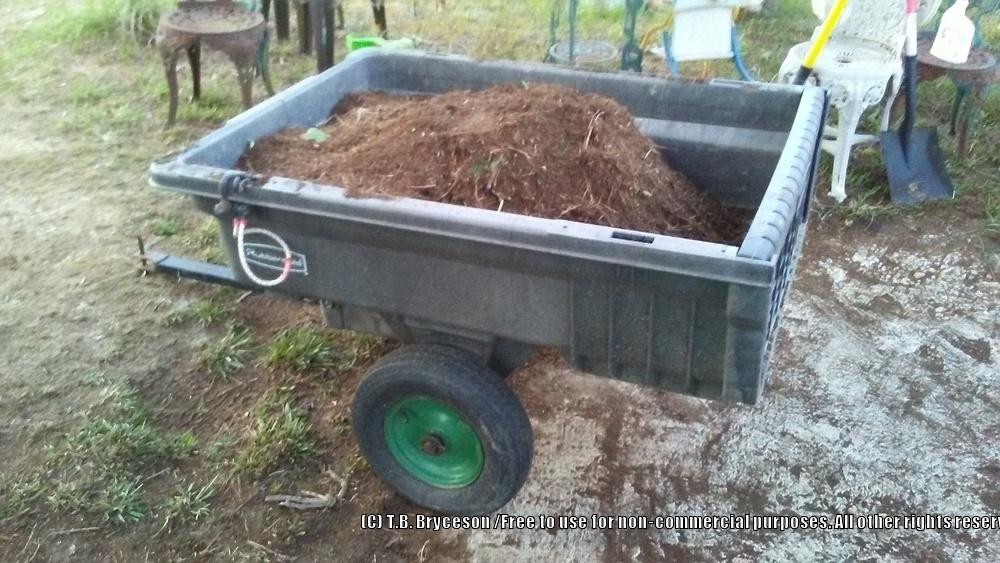
Anyway, to make a long story short (too late for that?), I used my lawn tractor's mower deck in various ways to loosen and blow and push all that material off the rest of the concrete pad. It ended up being about two more feet of concrete hiding under there, and I swept up all that decayed pine straw (yes, manually, with a broom) to use as a soil amendment. Here it is, in my trailer, before I transferred it to my garden cart to free-up the trailer.
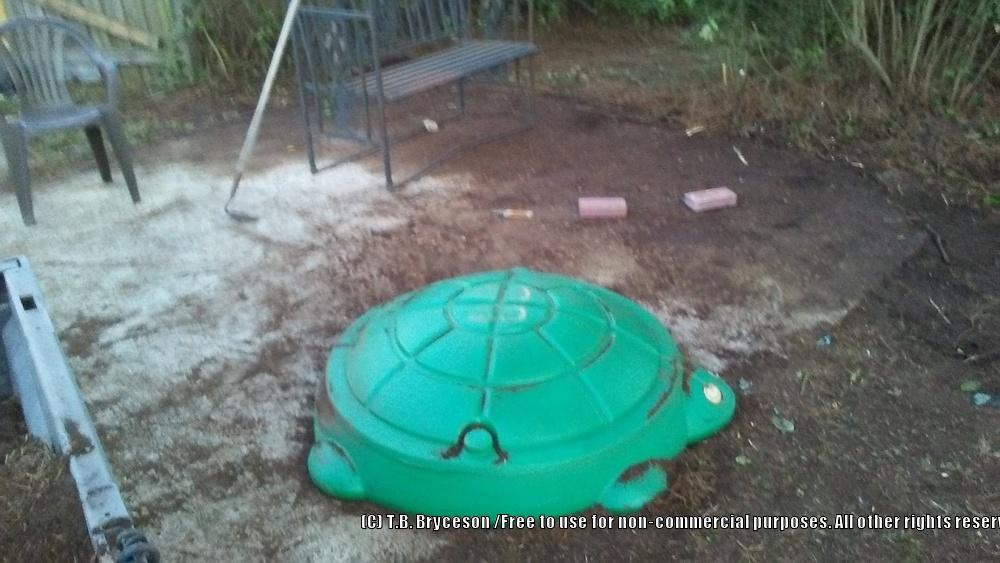
Here you can see what I cleared off; the dark part is what was still hidden. By the way, that little turtle sandbox has 150 lbs. of sand in it, but I was able to scoot it around with my mower as well. (I'm gonna have to give that thing a name, because it's getting tedious typing "my mower" and "lawn tractor" all the time. Any suggestions?)
So now I had the entire slab exposed, and even discovered a little concrete square at the front, which must've been at the door of the shed that used to be here. Let me elaborate on this fine piece of redneck craftsmanship; you know how people sometimes celebrate finishing a job by kicking back with a six-pack of beer? Well, I strongly suspect that instead of a six-pack, these talented workers had a whole case of beer, and they finished it off BEFORE they even started the job!
"Alright, we got the forms built, now let's pour some cee-ment."
"Naw, it's hot, let's have a beer first!"
"Good idear! I got a whole cooler full iced-down in the truck, ratcheer!"
And that's how this slab was brought into the world. It is unlevel, uneven, unbecoming and an unbelievably forlorn example of a DIY project. But, hey, it's concrete and not just a cleared patch of dirt, so it's better than nothing, right? Despite the 2×4 and 4×4 holes in it (the shed was obviously already built when they poured the slab) and the high and low spots and the puddles of water that won't drain off, it's a functional patio. Being that it's right next to a large pine means that it is fairly shady much of the day...and that it catches an abundance of pine needles constantly, that clutter it up and get in the fountain. But it's my garden patio, and I love it.
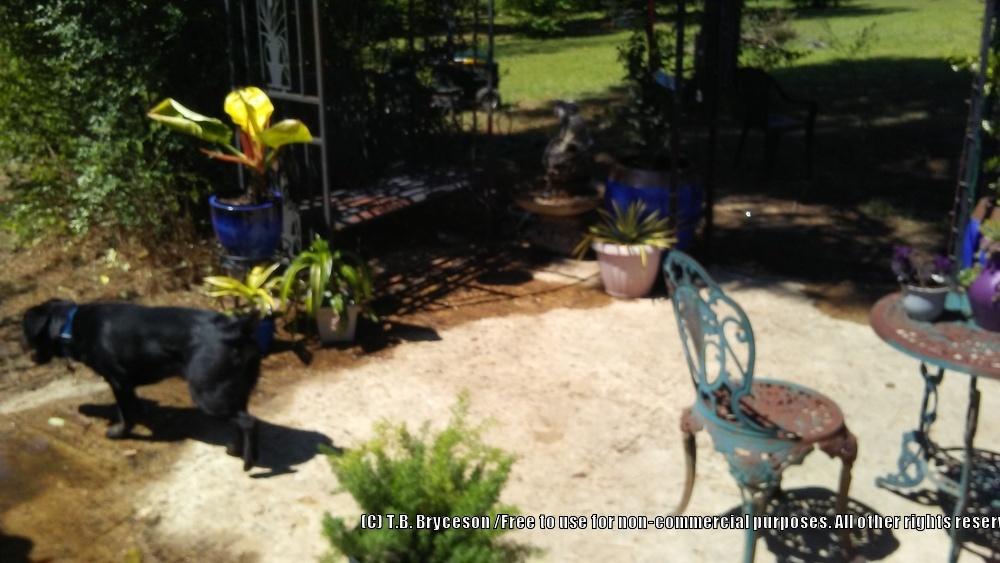
I moved a small metal pergola/arbor to be the entrance from the patio to the rest of the proposed garden and strung two strands of 100 LED lights (like Christmas lights with brown wire) on it from top to bottom, down each side.
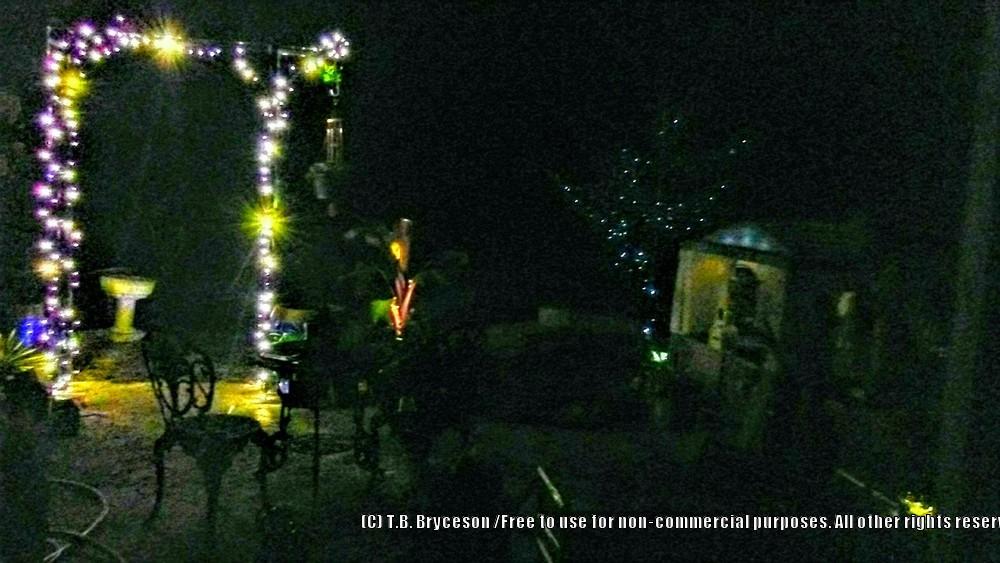
That turned out to be way too much light in one spot, although being so bright and with the lights down to the concrete, beetles were attracted like crazy, and my dog was beside himself, snacking on the crunchy critters as fast as they hit the ground. Yum, huh? Well, he thought they were popcorn. I later moved one set of lights to the arbor bench and repositioned the other set to just the top of the pergola/arbor, and also moved it to the entrance from the back yard. It looks much better like that, although I don't have any photos of it yet.
I happened upon a plastic play-cottage that someone had set on the side of the highway to be picked up with the trash, but the garbage men never got a chance at it. It had a couple of fixable blemishes, so I loaded it up in my El Camino and brought it home for my 3 yr old granddaughter to play in. I moved this to the edge of the patio and bought a string of solar lights which I mounted to the inside of the roof with sticky wire-holders. I also took the stake off of a solar path light and used it as a little porch light on the cottage.
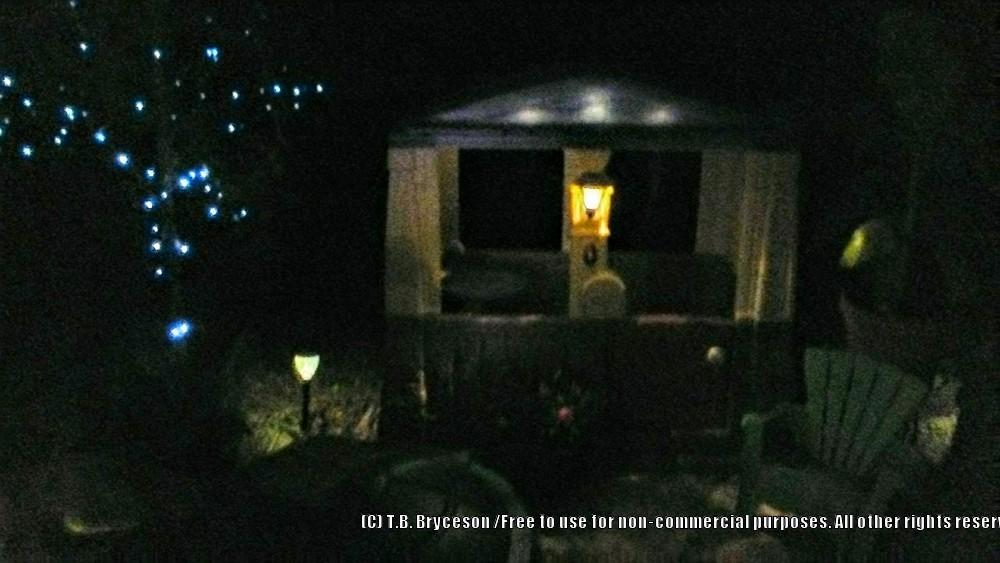
I positioned the turtle sandbox in front of the cottage so everything is right there in the same corner for her. In these photos, you can also see the rest of the patio furnishings, including the cast iron bistro set that needs to be repainted, along with other items that aren't up to par or where they will eventually end up. Also, that dwarf banana looks so bad because I didn't let It "harden" when I moved it out of the house (with grow-lights) into the direct sunlight. It looks alot better now. The patio looks a little cluttered to me, but part of the placement is dictated by the fact that I have to bring my mower across the patio to get from the garden area to the back yard. This will change soon, because I'm putting in a new wide access gate in a different spot and cutting the existing full-panel gate down to just a man-sized gate width.
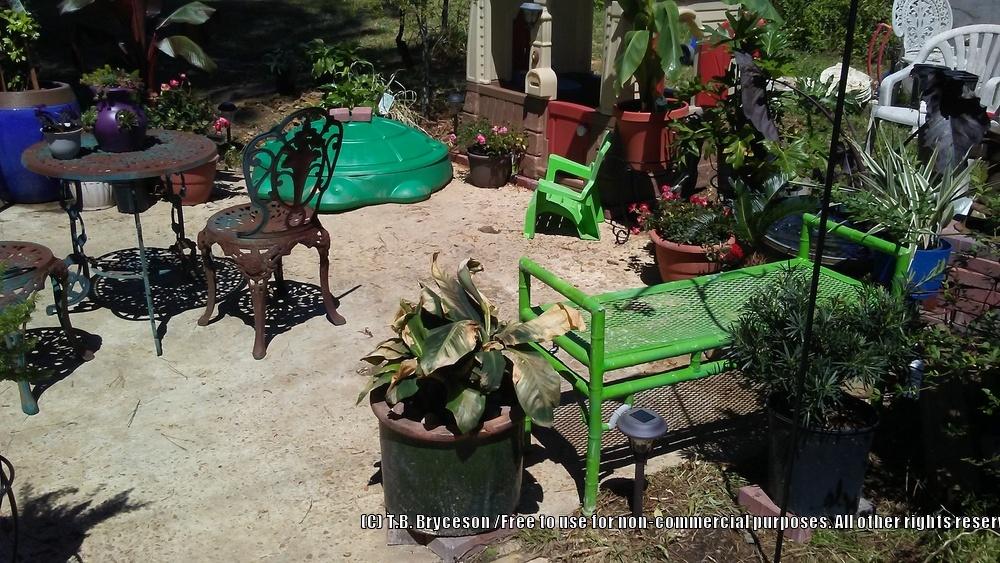
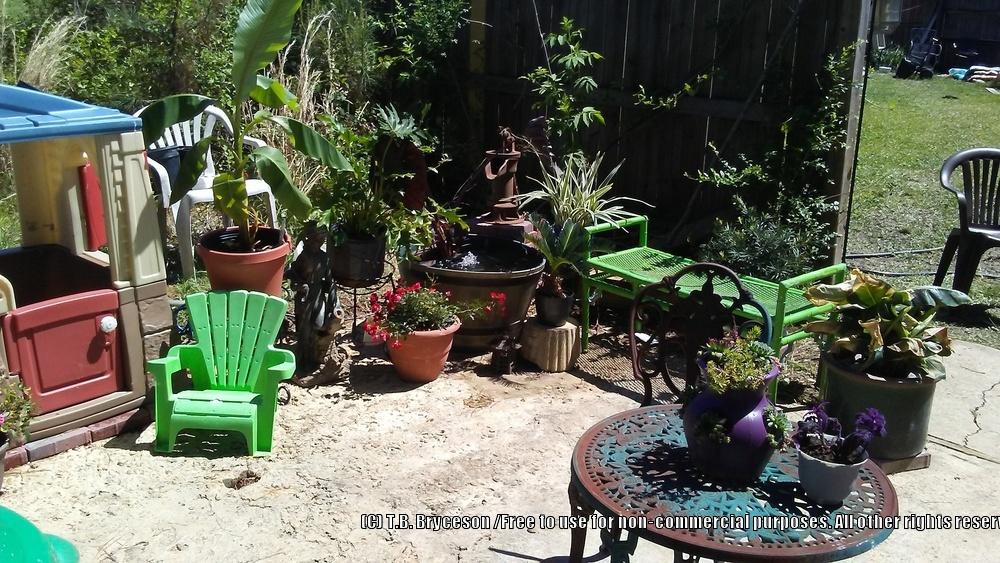
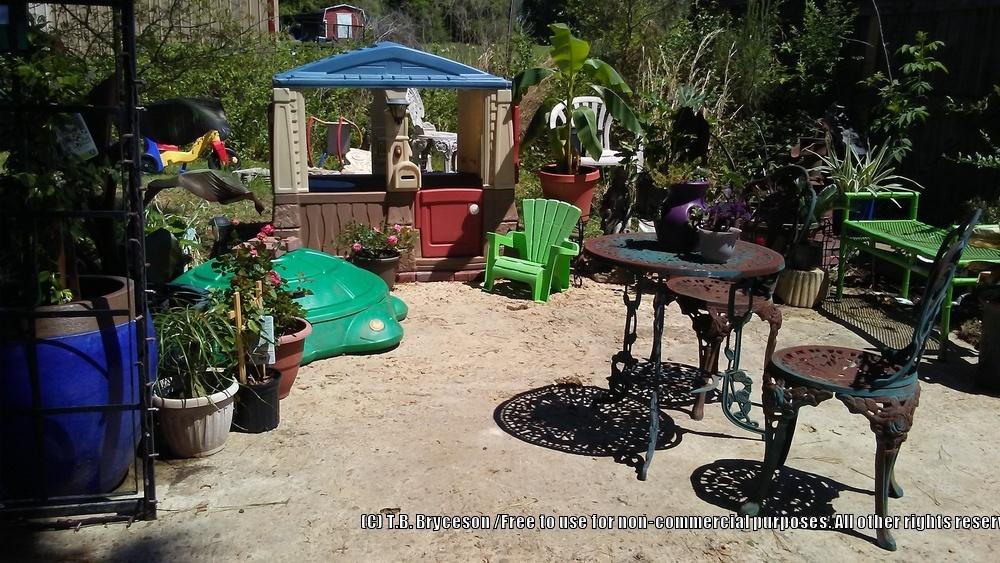
I'll go into the patio's water features in my next blog post.
Radly
Post a new thread about this blog entry: