
Retraining a Frozen Tree-Form Crape Myrtle
In last week's e-gardens I showed you examples of crape myrtles that were struggling to come back from the freeze.
I also showed you plants that froze completely to the ground. Dead tops with no signs of life.
If you missed that story, here is a link back to it to catch everyone up to speed. It will help you know if you're going to need to follow the guidelines I'm about to describe.
These are the steps you should follow if you have a crape myrtle that was weakened severely by the cold or that was actually frozen completely back to the ground.
When a crape myrtle has died to the ground it usually comes back strongly from its roots. Each of these shoots could be trained to be a new trunk.
That plant will still be alive in its root system. Your task is simply to retrain the sprouts to form a new tree. And I use the word "simply" because, with crape myrtles, it really isn't a difficult job. I'll give you the step-by-step process so you can see for yourself.
Note: These are the same steps you would follow to retrain a tree-form crape myrtle that had formerly been mangled by topping. It's exactly the same process, except that with topping you would do this severe pruning back in late winter. The cold did it for you this year.
To retrain a tree-form crape myrtle…
Follow these guidelines to get your tree back.
This is what we mean by "cutting flush" with the ground.
• Step 1: (May 2021) Cut all the old trunks back to ground level. Use a hand pruning saw if possible. Don't let a chain saw's blade make contact with soil. Soil will dull its blade immediately.
• Step 2: (May through Summer 2021) Allow all new shoots to develop around the old stumps. There may be as many as 25-30. Let them all grow.
• Step 3: (Sept. 2021) Remove unwanted shoots to reduce numbers down to the best 12 or 15, Goal is to select those that are strong and straight. At that same time, surround your new shoots with an enclosure of 24-inch wooden stakes to keep them from being broken during the winter.
• Step 4: (May 2022) Prune to remove all but 5 to 7 best stems. That will allow all water and nutrients to be focused to them. Leave stakes in place.
Retraining crape myrtle that has been topped or frozen, as illustrated by great work of Beverly C. of Lubbock. This plant is in its second year. You can see the cut stump at ground line.
The same crape myrtle in its third summer has taken on a great form. Well done!
• Step 5: (Spring 2023 – just two years from now!) Remove final unwanted stems leaving only the permanent trunks. If stems are sturdy enough to support themselves, including their bloom clusters, remove stakes. Otherwise, use plastic plant ties to hold them in place one more year.
High-nitrogen fertilizers applied in early spring, early summer and early fall will help all this happen most rapidly, as will frequent watering.
Added note about crape myrtle bark scale and aphids.
While I have your attention, this is the time to remind you to apply a soil drench of Imidacloprid systemic insecticide around the drip line of any crape myrtle that has suffered from these two summertime pests. This application should be a one-time treatment, and it should prevent the insects, therefore their sticky honeydew residue, therefore the black sooty mold that develops in the honeydew substrate. May 15 is the prime time for making that drench application to the soil.
From Terrior Grow Your Lettuce Longer in Warm Weather
You can grow lettuce throughout the summer without bolting with a little knowledge and a tiny bit of preparation. Imagine serving your own fresh-harvested, garden-grown lettuce throughout the summer!
First, some knowledge:
Lettuce is a cool season vegetable, meaning it grows best in temperatures around 60 – 65°F. Once temperatures rise above 80°F, lettuce will normally start to "bolt" or stop leaf production and send up a stalk to flower and produce seed. The leaves become bitter at this stage.
The mainstay of our beloved salads is not a North American native, but an ancient part of our dinner table. Belonging to the daisy family, lettuce was first grown by ancient Egyptians around 4,700 years ago. They cultivated it from a weed used only for its oil-rich seeds to a valued food with succulent leaves that nourished both the mind and libido. Images in tombs of lettuce being used in religious ceremonies shows its prominent place in Egyptian culture.
The earliest domesticated form resembled a large head of Romaine lettuce, which was passed to the Greeks and then the Romans. Around 50 AD, Roman agriculturalist Columella described several lettuce cultivars, some of which are recognizable as ancestors to our current favorites. Even today, Romaine types and loose leaf lettuces tolerate heat better than tighter heading lettuces like Iceberg.
Two factors cause lettuce to bolt and become bitter – temperature and sun exposure.
The temperatures you are concerned about are both air and soil, as a lettuce plant (or any garden plant for that matter) tolerates a higher air temperature if the soil around its roots are cool and moist. Ensuring a cool and damp soil gives you more air temperature leeway. Because lettuce has wide and shallow roots, a drip system on a timer teamed up with a thick mulch keeps it happier in warm weather.
Shade is the third part to keeping lettuce growing vigorously later into warm weather. Reducing sun exposure lowers the heat to the leaves, but also to the soil and roots – creating a combined benefit. Deep shade isn't good, but a system allowing sun during the morning while sheltering the plants in the afternoon keeps your salad machines going much longer than you thought possible.
One last bit of knowledge. Most lettuce seeds become dormant (won't germinate) as temperatures rise above 80°F, a condition called "thermo-inhibition". This trait is a carryover from wild lettuce in the Mediterranean Middle East, where summers are hot with little moisture. If the lettuce seeds sprouted under these conditions, they would soon die out and the species would go extinct.
When lettuce is mentioned, many think of the standard iceberg lettuce found in supermarkets and restaurant salads. That is changing with the growth in popularity of the different types of lettuces from Romaine to head and leaf-type lettuces, mainly due to the flavors and colors that they offer from deep red to almost white and noticeably sweet to tangy and slightly bitter. Iceberg lettuce, originally bred as a hybrid, is now offered as an open pollinated variety and has been around long enough to be considered by some as an "heirloom"!
We have come to expect lettuce year round, mainly due to being educated by the supermarkets as to what our vegetables should look like, taste like and when they should be available. Many are surprised to find that lettuce is a cool season crop and will bolt or go to seed readily during late spring and summer months. It is best planted early in spring and then again in late summer or early fall when the temperatures start to cool off.
Ideal Conditions for Lettuce Seed Germination
Red Oak Leaf Lettuce
Lettuce seeds won't sprout when soil temperatures are above 80°F but they will start to germinate as low as 40°F, making it ideal for early and late season planting. A plant hormone is produced under warm conditions that stop the germination process, called "thermo-inhibition". This is a carryover from wild lettuce that originated in the Mediterranean Middle East, where summers are hot with little moisture. If the lettuce seeds were to sprout under these conditions, they would soon die out and the species would go extinct.
Thanks to traditional plant breeding and selection of heat tolerant characteristics over a number of years, there are several varieties of lettuce that are more heat tolerant and are open pollinated- meaning you can save seeds from year to year. Some examples are Saint Anne's Slow Bolting, Summertime, Black Seeded Simpson and Jericho. Just because these are heat tolerant doesn't mean that they will grow through the summer, only that they won't bolt or turn bitter quite as quickly.
Thanks to ongoing research on lettuce traits, there are some techniques to extend the sprouting for lettuce seeds into the warmer months that home gardeners can use. The optimum soil temperature for most lettuce seeds is 68°F, with some varieties sprouting in the 40 – 75°F range. The temperature of the soil must be taken, not just the air temperature which can be several degrees different.
Sprouting Lettuce Seed in Warm Weather
Green Oak Leaf Lettuce
In warmer temperatures, imbibing or soaking the seeds in water for at least 16 hours before planting in a well-lit area will increase the germination percentages greatly. Red light has been found to be the best color, but many home gardeners won't have access to a non-heating red light and sunlight or full spectrum light was found to be almost as good. Soaking the seeds in the dark in warmer conditions decreased their germination rates. Another technique that has shown to be successful is to soak the seeds in cool water in a well-lit area for 16 – 24 hours. This approach has increased the germination rate up to 97% when planted in warmer conditions. Soaking for less than 16 hours has little to no positive effect on germination. For a closer look at what happens when a seed goes through germination, read our article "Starting Seeds at Home – a Deeper Look".
Other successful methods of extending the season for lettuce in the garden include laying a thick mulch of straw or wood chips on the ground of at least 1 1/2 to 2 inches. This insulates the soil from becoming too hot and drying out too fast and helps to preserve moisture in the soil. Shading the lettuce plants can give enough of a temperature drop to keep them from bolting, sometimes up to 3 – 5 weeks. Shade can be from a shade cloth on a row cover or hoop type structure or companion planting of tall wide leafed plants such as some types of pumpkin.
The traditional rule of thumb of "plant early and plant often" for lettuce can also be said as "plant late and plant often", but some of the more heat tolerant varieties, along with soaking in light and providing some mulch and shade can greatly extend your lettuce season in the garden this year.
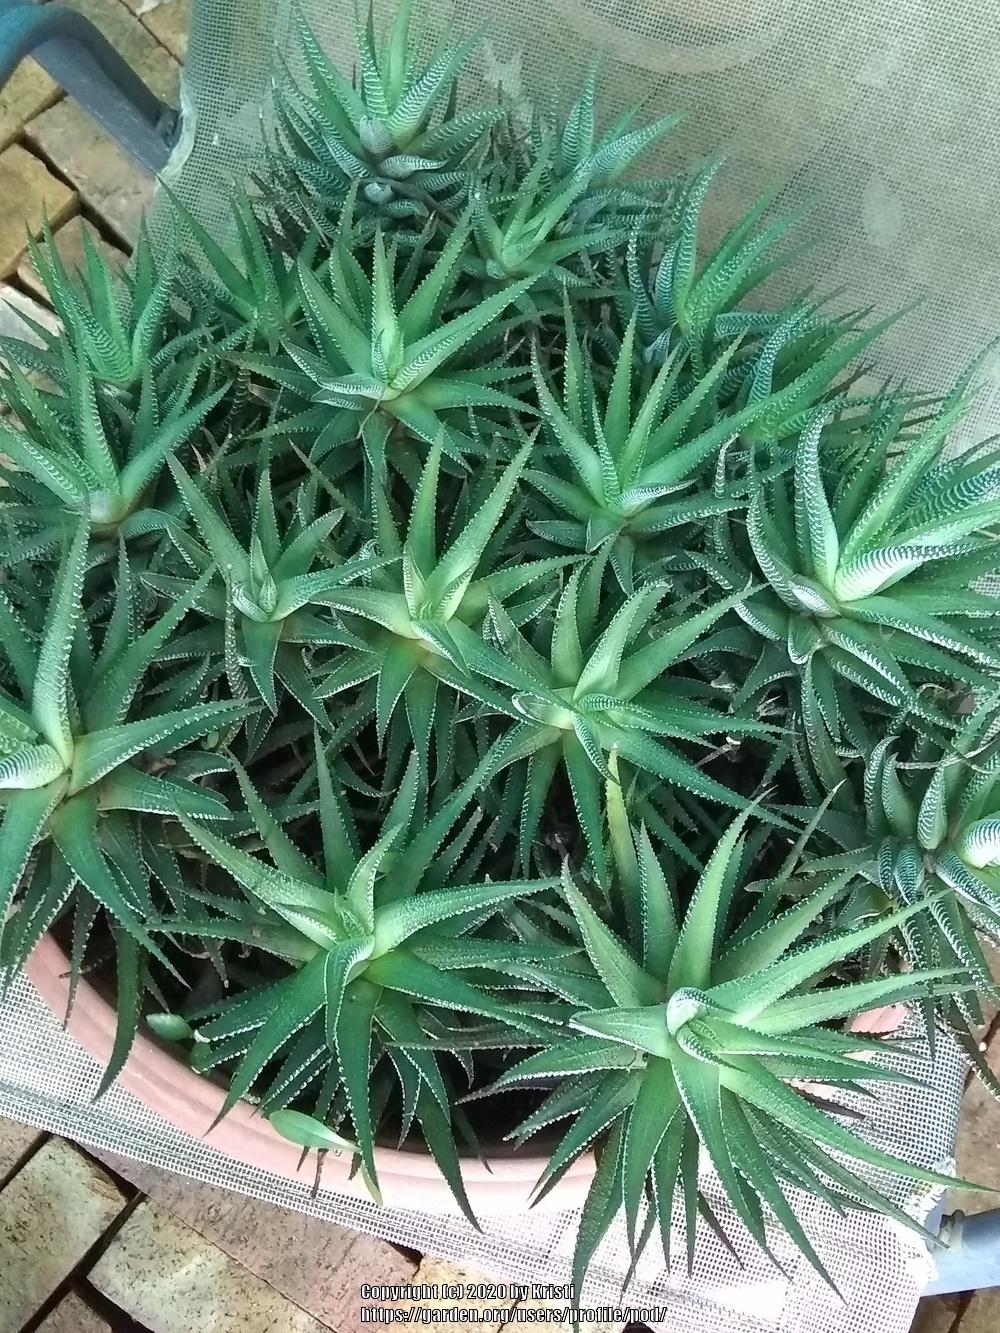
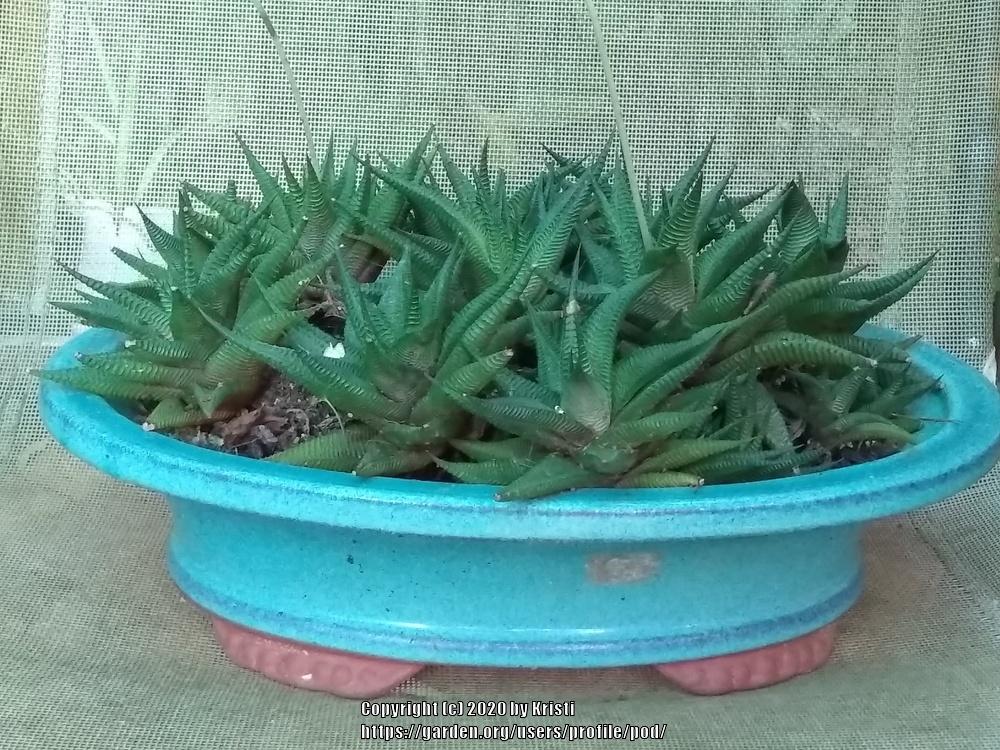
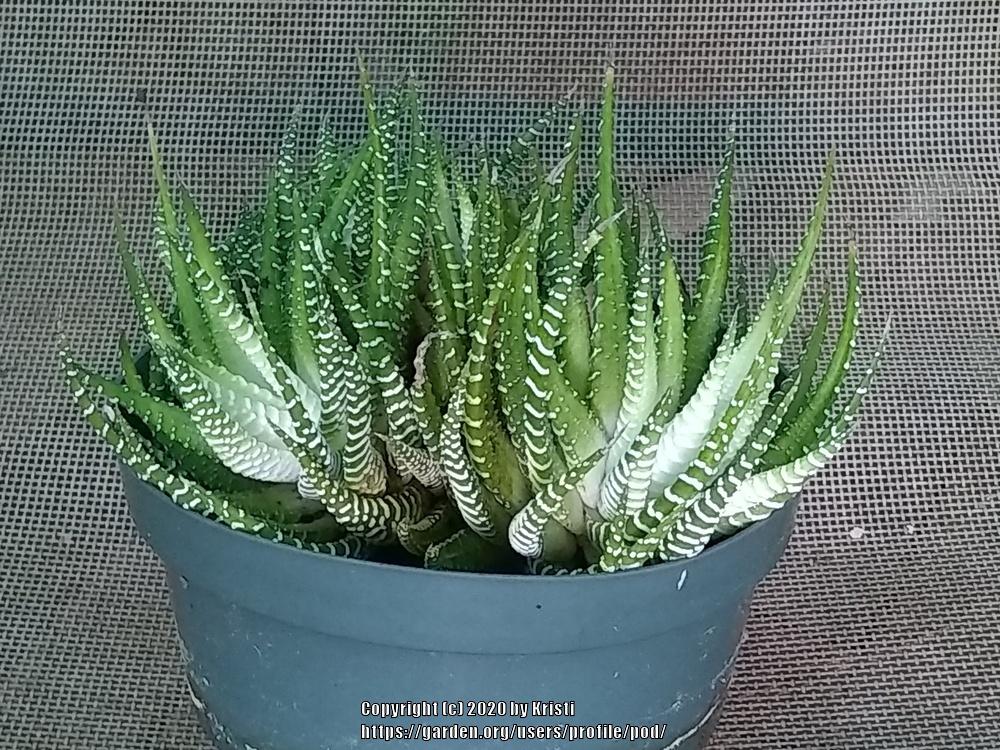
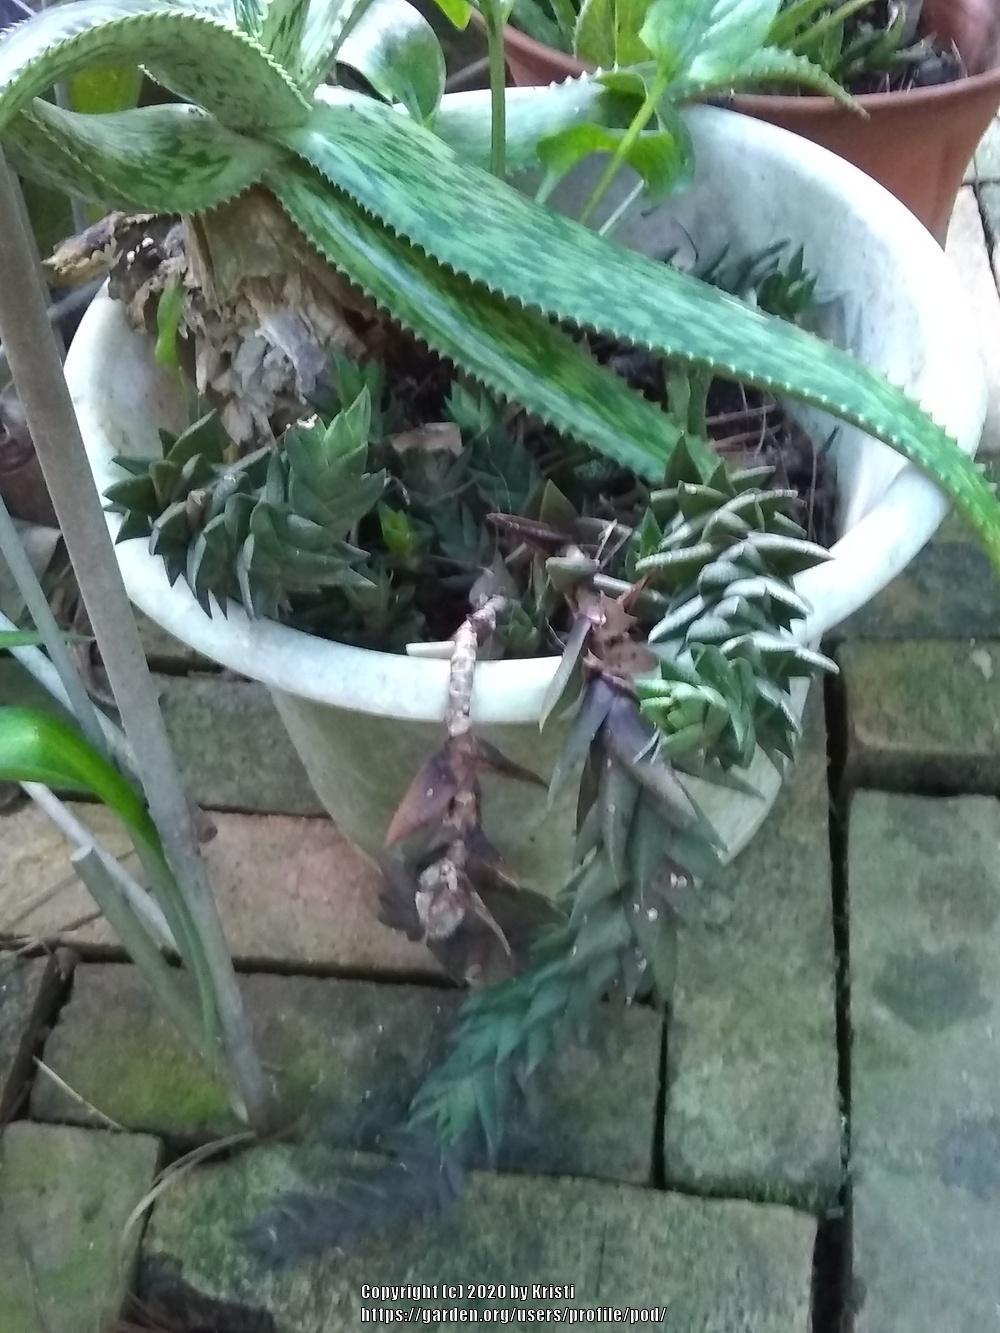
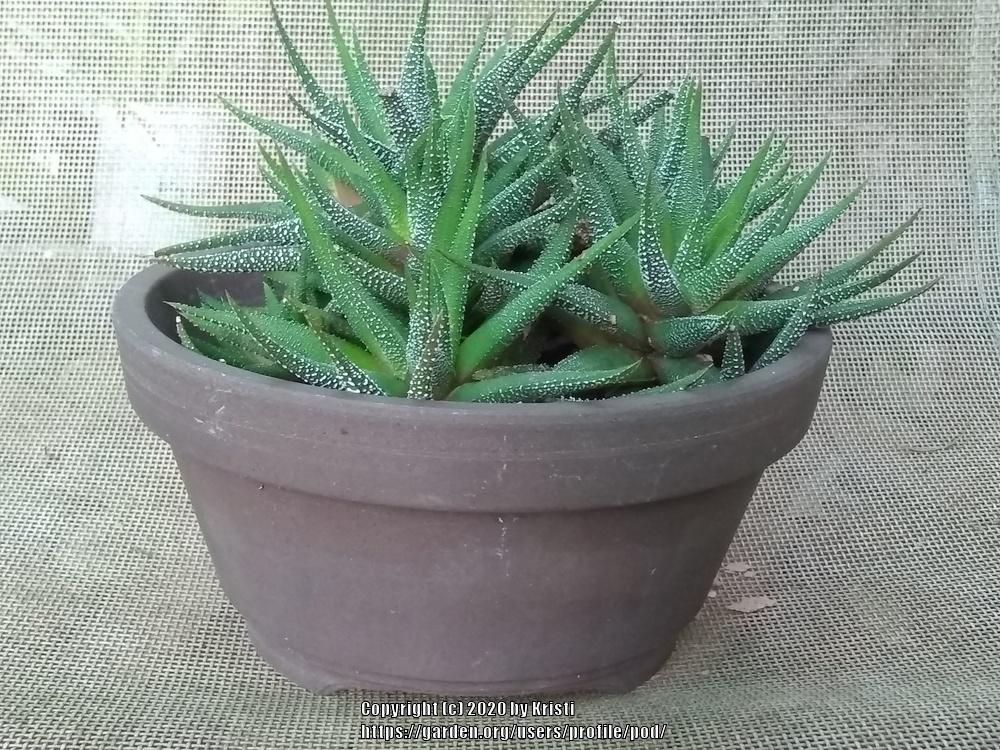
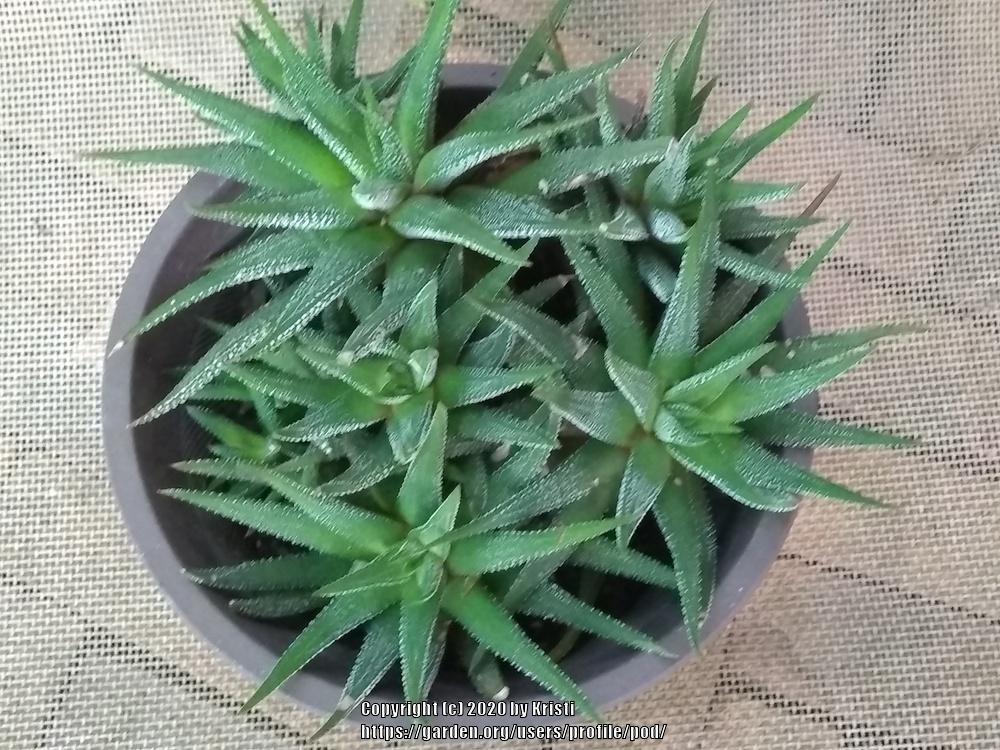
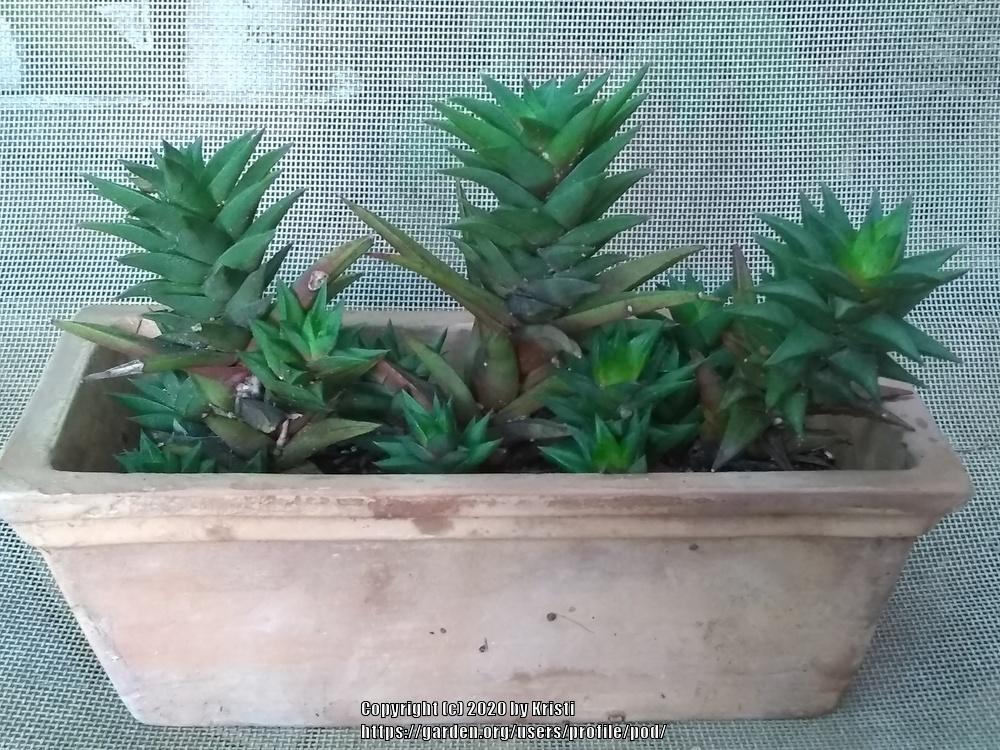
After reading a post of Haworthias, I was out looking at my collection. I had forgotten how many I had and how many I really love. They are forgiving when ignored. Willing to propagate with no encouragement. Pleasing to the eye.


By Joe Gregoire / Orange County Master Gardener
Posted May 11, 2019 at 2:01 AM
Q: I've heard that adding carbon to the soil by mixing in charcoal is good for plants. Is this correct? - Jessica from Monroe
A: Great question, Jessica. And as I've just recently cleaned out my fireplace from the winter and wondered if I could use the ash in my garden, I've done a little research on the topic that I'll share with you here.
There is a long history to the practice of adding ash and charcoal to soil and is a proven method of soil improvement. The pre-Columbian Amazonian peoples developed an understanding of the importance of soil carbon as they worked to meet their agricultural needs in their hot and humid rainforest environment. Their warm, wet climate created conditions in which soil organisms quickly decomposed organic material, which was then absorbed into the rapidly growing rainforest flora. When rainforests are cleared and plowed, this soil is quickly depleted of soil carbon and susceptible to erosion, making food production difficult to sustain on the same land for more than a few years. However, archeologists have found that ancient Amazonian cropland contains large deposits of dark, rich soil called Terra Preta that was made by these ancient farmers between 2,500 to 4,000 years ago. This Terra Preta contains high amounts of charcoal created through the process of pyrolysis (burning organic material in high heat and low oxygen) which preserves up to 50 percent of the carbon vs. converting it into CO2 gas through complete combustion. Pyrolysis produces a very porous and stable form of organic matter through physically and chemically altering the composition of the biomass being burned.
University studies have shown that adding charcoal (also called biochar) to soil increases the soil's water-holding capacity, reduces soil density, improves soil structure, and has been proven to reduce soil nutrient leaching and increase crop growth. Pre-packaged biochar can be purchased from retailers today or can be made at home by buying or building a biochar kiln for home use. Many low-cost designs can be found online and enable the conversion of biomass (wood) into charcoal to amend the soil. Biochar can be produced from a variety of materials - trimmings from woodland and yard maintenance, agricultural waste like corn stalks, and purpose-grown biomass such as bamboo. The pH and composition of the biochar that is produced is directly linked to the material used to produce the biochar, so if making your own, be sure to avoid contaminants such as treated or painted lumber.
Biochar has many properties that have potential to enhance soil fertility and is a highly stable form of organic matter, as the 4,000-year-old Terra Preta demonstrates. Organic matter in soil is important for retaining moisture and building soil structure through aggregation, which also provides pore space for drainage. Soil organisms depend on this balance of air and water in soil to survive and thrive. With increased soil life comes increased soil nutrients to feed your plants.
If you have access to fireplace ash, this can be another ready source of charcoal and other beneficial soil amendments. Wood ash is a good source of potassium, lime, and micronutrients (which are taken up from the deep roots of hardwood trees used for firewood, such as oak and maple). It is best to add ash to the compost pile rather than directly to the garden, since the high concentration of lime can alter soil pH and may burn sensitive plants. The alkaline nature of wood ash can also have a neutralizing effect on compost, since the decomposing materials in a compost pile can become somewhat acidic. Do not use ash from a charcoal grill, since this ash may contain chemical residue from lighter fluid.
Because of the alkaline nature of wood ash, avoid using it around acid-loving plants such as azaleas, rhododendrons, and blueberries. Wood ash can also be used as a natural repellent for pests such as snails and slugs who will resist crossing a line of wood ash laid around their favorite plants (the salts in wood ash are an irritant to these soft-bodied pests). The wood ash needs to be reapplied after a rain or watering to remain effective.
Carbon in the soil is the key to soil life. Growing plants exude carbon into the soil through their roots in the form of sugars produced through photosynthesis. These exudates attract and feed beneficial bacterial, fungi and other microorganisms that live and die in the area surrounding plant roots, providing plants with nutrients they need to be healthy. Our addition of carbon to the soil, in the form of charcoal, can provide additional material for this symbiotic relationship to play out in our garden soil. And in doing so, we can play an important role in removing carbon from the air and returning it to the soil through our everyday love of gardening.
from here: https://www.thedailygarden.us/...
Starting seeds is a garden rite of spring (and other seasons), but you might not know where to start.
Do your seeds need to be soaked? Stratified? Or, scarified? Let's find out.
Newly planted seeds (Kate Russell)
Seed basics
Most seeds are surrounded by a hard hull or seed coat. The seed coat protects the embryonic seedling and its food supply (endosperm) from moisture, pests, and disease. Rising temperatures and spring rains soften the seed coat, allowing moisture to enter and triggering the new plant into reaching for the sun. Before they do that, many seeds need to go through a period of winter rest before they can successfully sprout in spring. Some seeds, such as lettuce and dandelions, have evolved to be blown on the wind, landing lightly where they fall, while others need to be buried deeply in cold, damp soil – think acorns and squirrels.
If you plant a seed before it gets warm enough outside, odds are pretty high that the seed will either rot in the ground, or it will never really thrive. Understanding each plant's unique ideal sprouting and growing conditions will help you start seeds more successfully.
Most vegetables
Most garden seeds will germinate when temperatures reach 60°F to 70°F if they are planted in loose, moist soil at the proper depth. The general rule of thumb for seed planting depth is to use twice the seed width or diameter. This means a seed that is ¼" wide should be planted ½" deep. Too often, seed packets rely on a standard planting depth, which is not always in a seed's best interest. If you will be planting a lot of seeds, you may want a dibble.
Heat lovers
Okra, pumpkin, and squash seeds need a lot of heat (85°F to 95°F) to have a good start. This group is followed closely by beans, eggplants, and watermelons (75°F to 85F).
Light likers
This group needs to be covered with soil, but only a little. It includes broccoli, Brussels sprouts, cabbage, cauliflower, Chinese cabbage, collards, cucumbers, eggplant, kale, kohlrabi, leeks, melons, peppers, squash, and tomatoes.
Light lovers
Some seeds need light to germinate. If they are hidden away under the soil, they will sit there until they rot. This group includes chamomile, lemon balm, lettuce, and savory. To plant light lovers successfully, moisten the soil thoroughly first. Then press the seeds into the soil and use a mister to keep them moist until they germinate. Your watering can or hose will flood these tiny seeds into a corner where they will cluster and get moldy.
Cold, wet winter types
Other seeds need periods of cold, wet stratification. It is called stratification because, traditionally, these seeds were soaked for 24 hours and then layered in a cold, moist growing medium until they germinated.
These are your cool-season crops that germinate best when temperatures are in the 45°F to 50°F range. This group includes members of the cabbage family, carrots, collards, Echinacea, leeks, lettuce, onions, parsley, parsnips, peas, spinach, salsify, and turnips. While most herbs prefer warmer temperatures borage, chamomile, chervil, cilantro, dill, marjoram, and thyme will germinate better at these cooler temperatures.
Seeds to soak
Some seeds are more likely to germinate and grow well if they are soaked overnight before planting. This group includes asparagus, beans, beets, carrots, corn, okra, parsley, peas, pumpkins, squash, and Swiss chard. Do not soak seeds for more than 24 hours or they will rot.
Seeds to scratch
Some seeds have evolved for a more rugged life. Often, these are seeds that, in nature, end up going through someone's digestive tract before being deposited on the ground with a convenient pile of fertilizer. If you scratch or nick the surface of your bean, melon, and squash seeds, and then soak them overnight, you can significantly increase germination rates. Just be sure that you do not puncture the seed coat as this can kill the embryonic plant. Just rough it up a little. This is called scarification.
Transplant trauma
Once your seeds germinate and start to outgrow their first home, you will need to transplant them. Transplanting is extremely stressful. Root hairs get torn away, everything starts drying out, and getting reestablished takes time. Some plants really hate being transplanted. This group should be planted directly where you want them to grow, if at all possible, and it includes anise, arugula, borage, carrots, chervil, cilantro, dill, fennel, mustard, parsley, parsnips, peas, radish, rutabaga, spinach, Swiss chard, and turnips.
Other plants, such as beans, corn, cucumbers, melons, and squash, grow so quickly that it's just easier to plant them where you want them.
If you start your seeds indoors or in an otherwise protected area, you will need to harden off seedlings. Hardening off refers to gradual exposure to the sun, wind, and various temperatures. Plants don't take kindly to shocks.
Use these tips to get the most out of your seed planting efforts:
wait until temperatures are warm enough
choose varieties suited to your microclimate
start with certified disease-free seeds and clean containers
read the seed packet label
plant seeds at the proper depth in sterile, loose, fine-textured soil
label the pots – seriously, you'll thank me later
cover the seeds and soil lightly with vermiculite (unless it's a light lover)
keep the soil moist but not soggy until seeds germinate
once germination occurs, allow the soil to dry out between waterings